Thanksgiving in my family is a time where everyone near and far come together, eat and celebrate life.
When my grandparents were alive the production was big. Food was served from morning to night. The grown ups would sit and talk while the kids went in and out of the house playing with each other.
I remember one year, my Tia O brought crafts to keep us entertained. She was always the crafty one.
This year I am far from the family, I decided to keep on with the crafts and make a thanksgiving craft with a Latino twist.
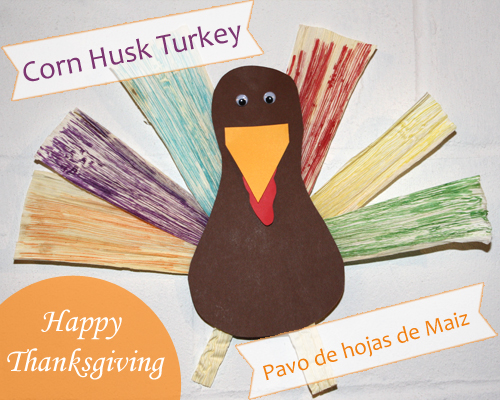
What cooler turkey to make then one made out of Hojas de Maiz???
One of the foods we cook during the holidays is tamales. I find that we over buy corn husk and so this is the perfect supply to make an activity with during thanksgiving. After the tamales are prepared and you have a pile of unopened hojas de maiz, Let’s Make a Pavo!
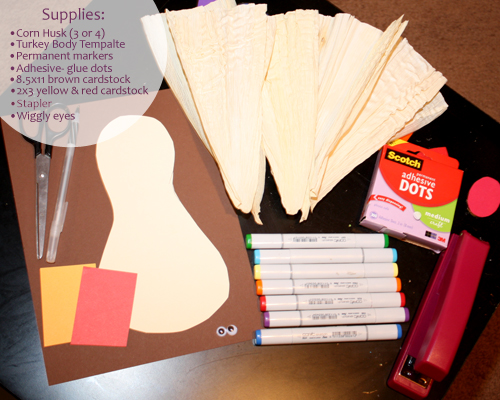
To make you own Pavo de hojas de maiz you will need:
•Corn husk about 3 or 4 hojas-it really depends how full you want your turkey feel free to go wild with it.
•Turkey Body Template You can download one HERE
•Permanent Markers- preferably bright colors highlighters work too.
•Adhesive- Glue dots seem to work best
•8.5×11 brown cardstock
•2×3 yellow & red cardtock
•stapler
•2 wiggly eyes
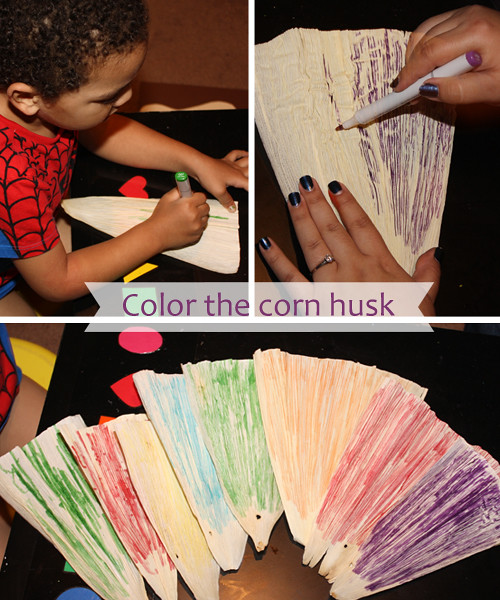
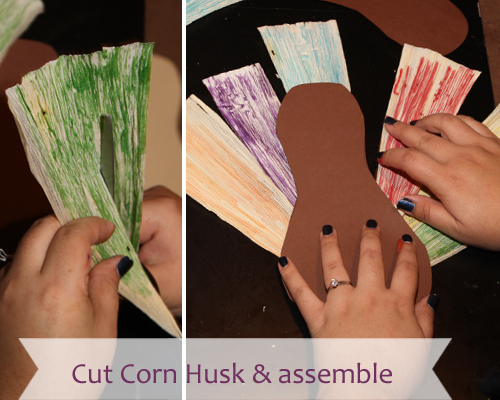
STEP 1- Color the corn husk. Get creative make designs if you want.
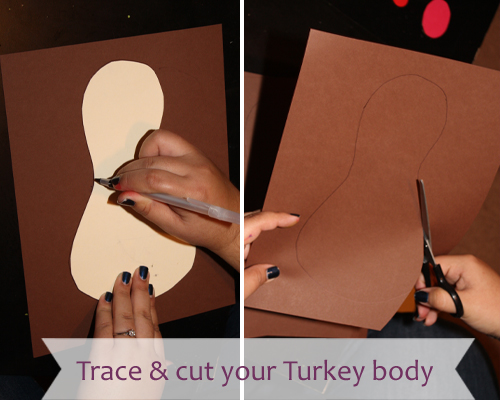
STEP 2-Trace and Cut out your turkey body. Here’s the Template!
Step 3-Cut the corn husk in half or thirds depending on how big the hojas are. Assemble them around your turkey body to see the shape and amount you want.
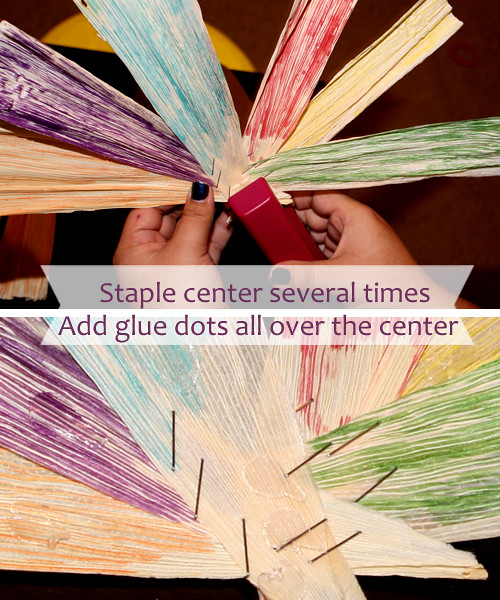
Step 4-Gather the hojas in groups and staple them together at the bottom. Once all groups are done staple them together to create one big feather-like element.

Step 5- Make sure to staple several times. You don’t want them coming apart. Then adhere glue dots all over the center where you stapled. I put about 6 -8 glue dots all around.
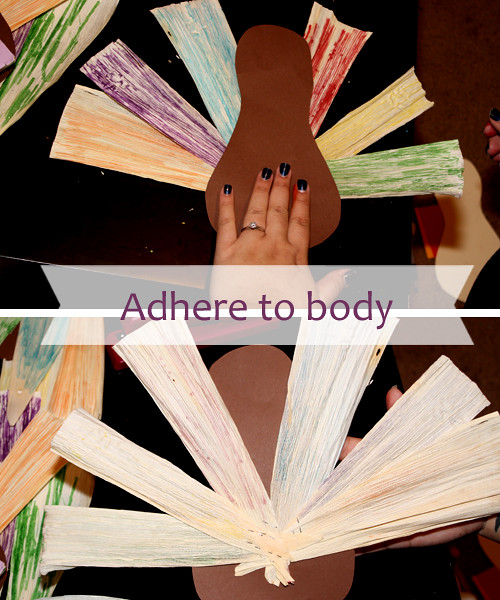
Step 6- Adhere your turkey body. This is what it should look like. Make sure to press firmly so the glue dots stick to the body.
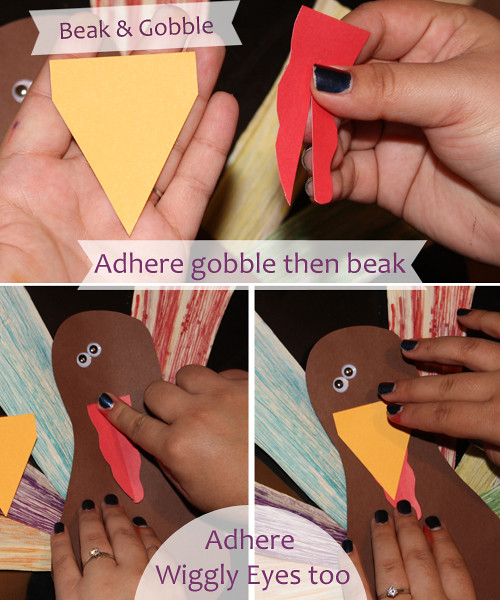
Step 7- Cut out a beak and Gobble(the red part under the turkeys beak) Get creative any shapes work. For the gobbler I cut out a curvy tongue like shape and cut a slit in the middle. For the beak I just cut a triangle shape from the square shape paper.
Adhere the gobble first then the beak on top as shown below.
Make sure to add your eyes at this time also.
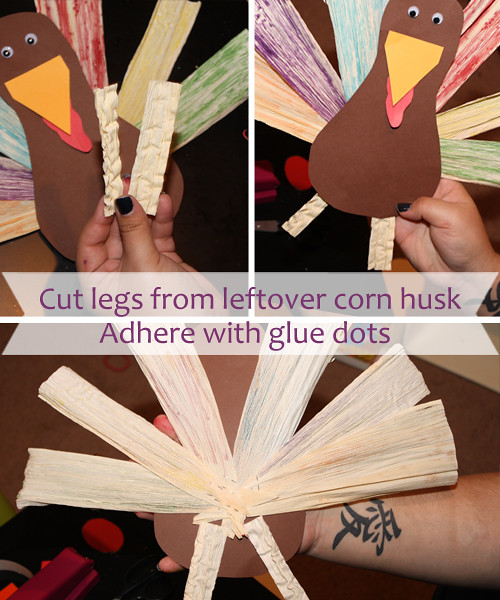
Step 8- From leftover hojas de maiz cut 2 little rectangles for legs. Adhere them to the back of the body. This is what it should look like.
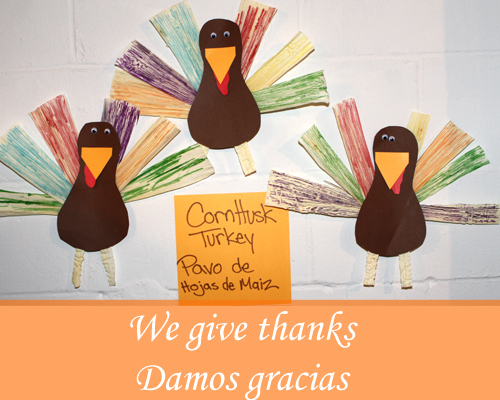
ALL DONE! Hang your turkey and enjoy the holiday!


This looks fun, and super easy … And you are right about the husks, already have leftovers sitting in the cupboard. Thanks!
awesome!! I could do this with my niece & nephew!
love it, I am going to do this with the children at the reading corner
So crafty, Ruby! Can’t wait to start getting our hands messy with some arts and crafts when Alina gets a bit older.
Thanks ladies hope you all had an amazing Thanksgiving!